halo braid hairstyles for black hair
When it comes to my favorite 4c hairstyles, I have one rule. It has to be simple.
This means no straightening required, no excessive braiding required, and minimal product usage.
And a halo braid is just that. Easy, quick, elegant!
This simple style can be worn by anyone regardless of your hair type or length of hair. As a matter of fact, it’s especially perfect for women with short 4c hair like me.
Intrigued?
Great, because in this post, I’m sharing with you 5 beautiful examples of the halo braid look.
Elegant Halo Braids Styles to try in 2025
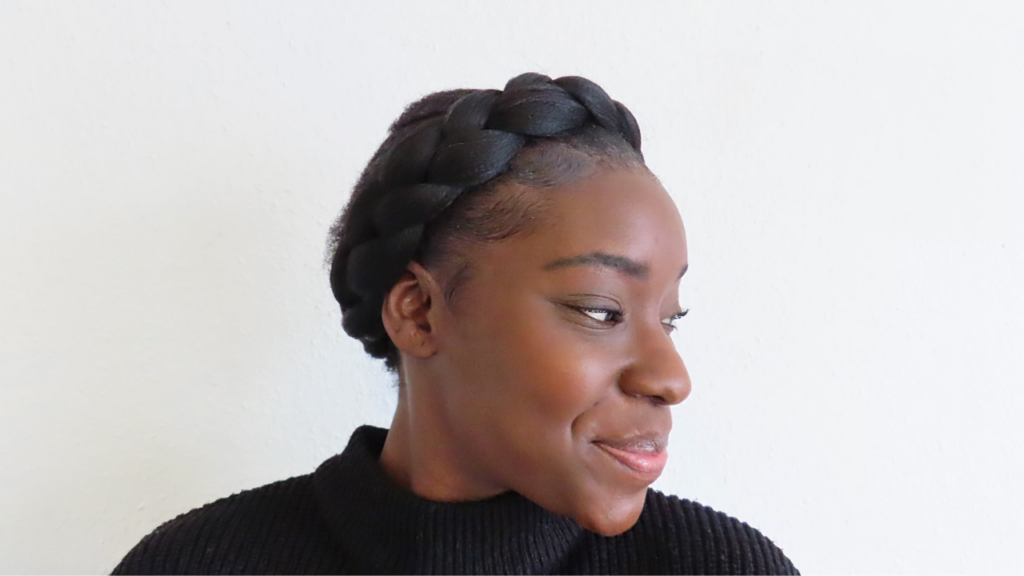
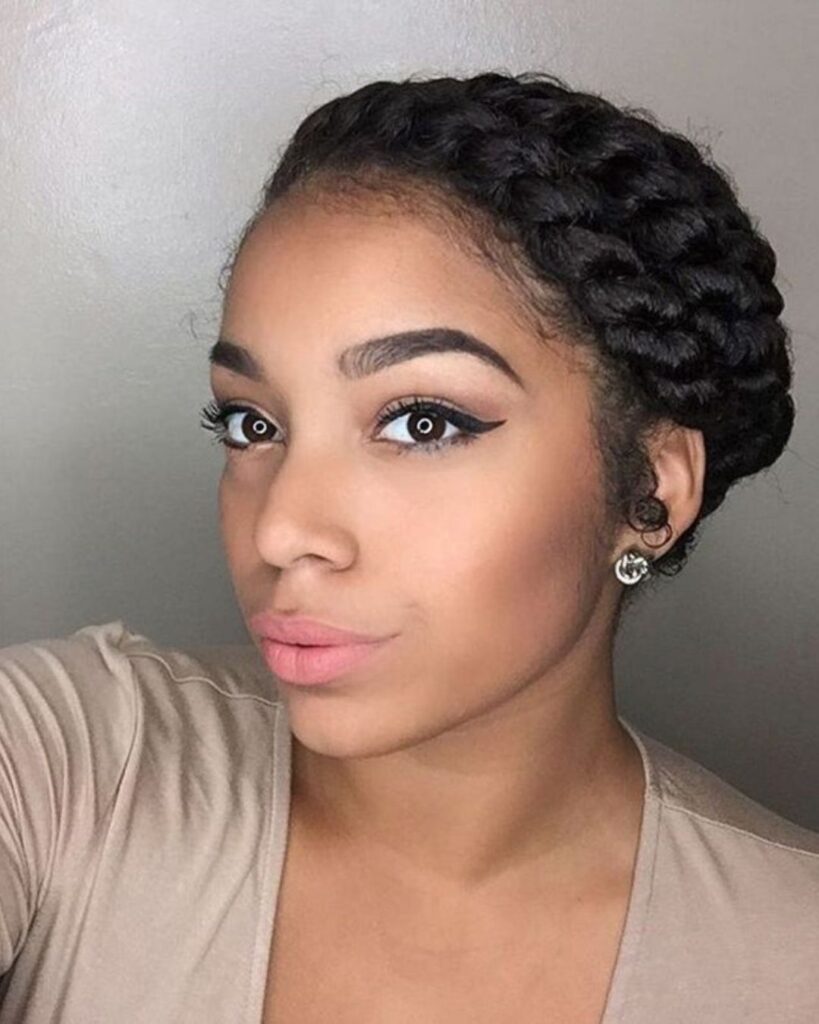
1. Crown Braid
The basic halo braid hairstyle is also called crown braid. A thick braid that wraps around your head in a perfect circle. It’s my personal favorite because it is an easy protective hairstyle that you can put together quickly.
2. Original halo braid with a bun
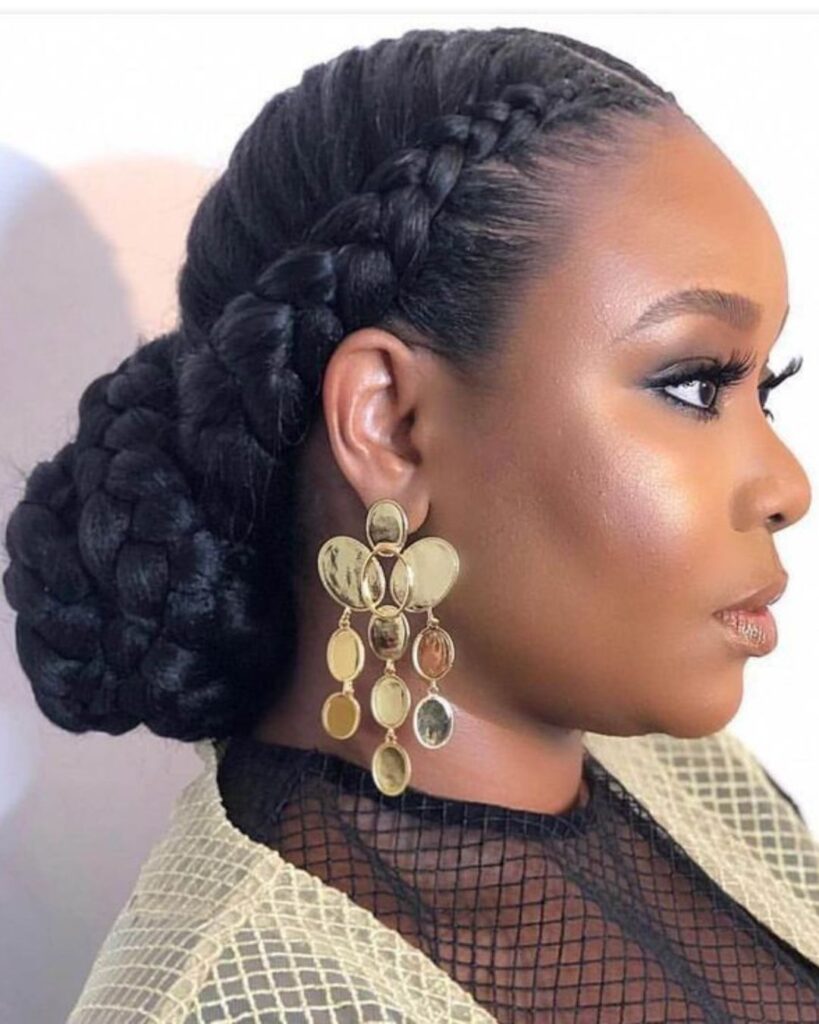
Another popular alternative of the halo braid style includes a bun at the back of your head. Instead of wrapping the braid completely around your head, it now forms a bun. An easy way to do that is by braiding a long dutch braid on either side of the head.
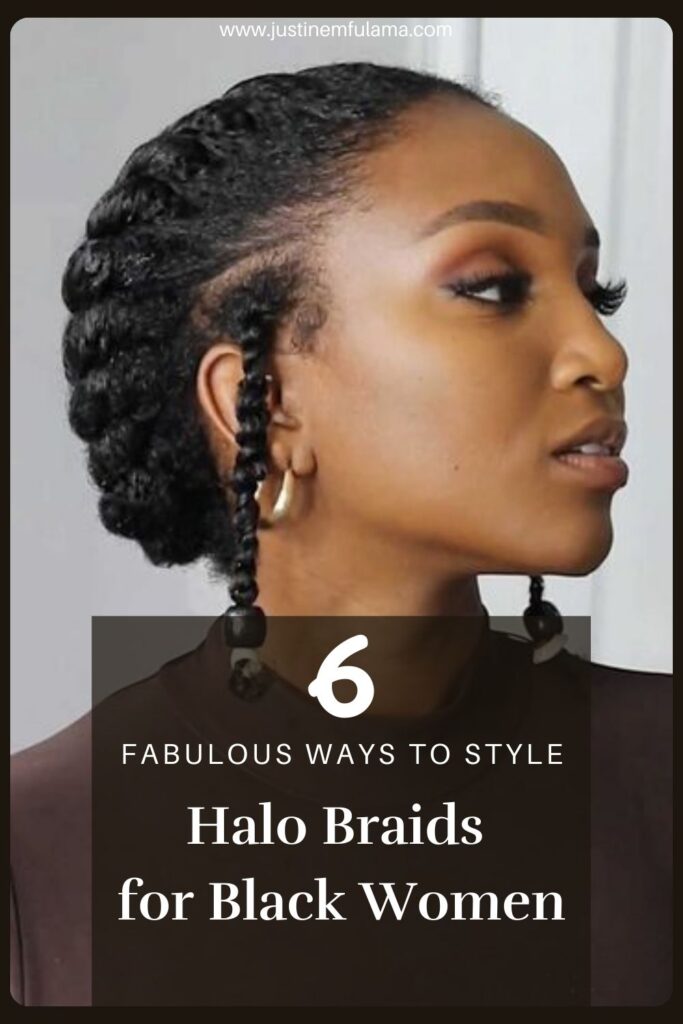
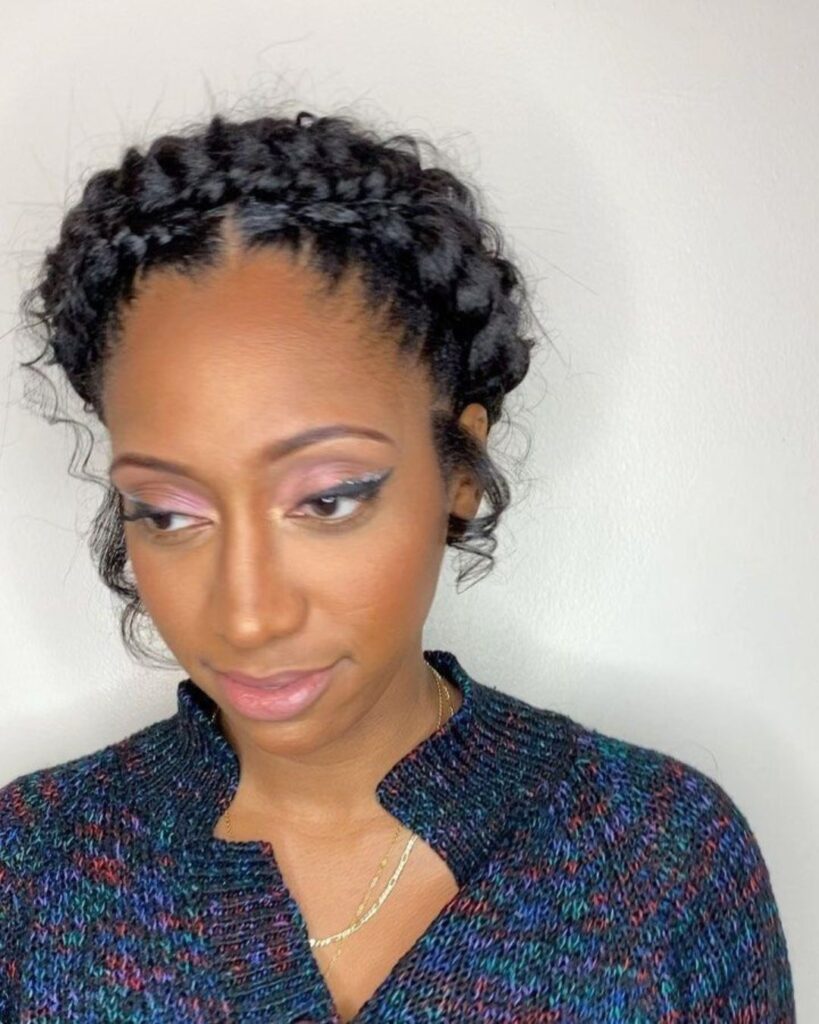
3. Twisted Halo Braid
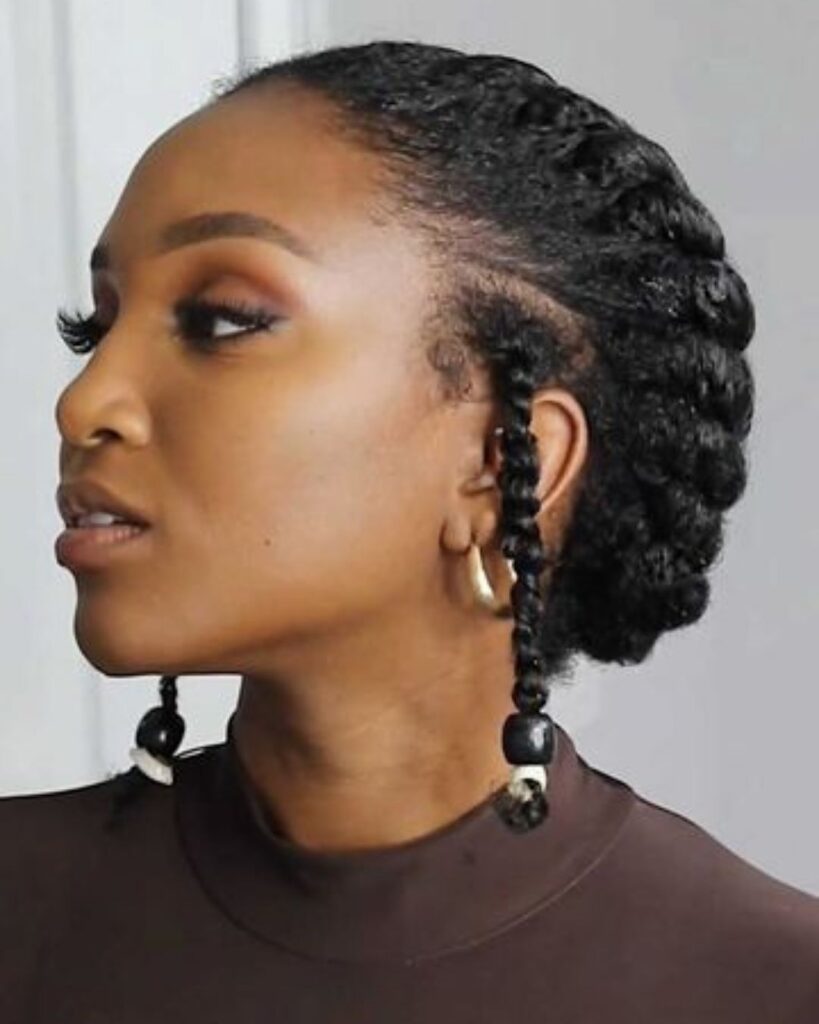
One thing that may keep you from trying out this beautiful style is the braiding. In that case, you should try flat twisting your natural hair instead.
4. Double Halo Braid
Another unique halo braid hairstyle is the double braid look.
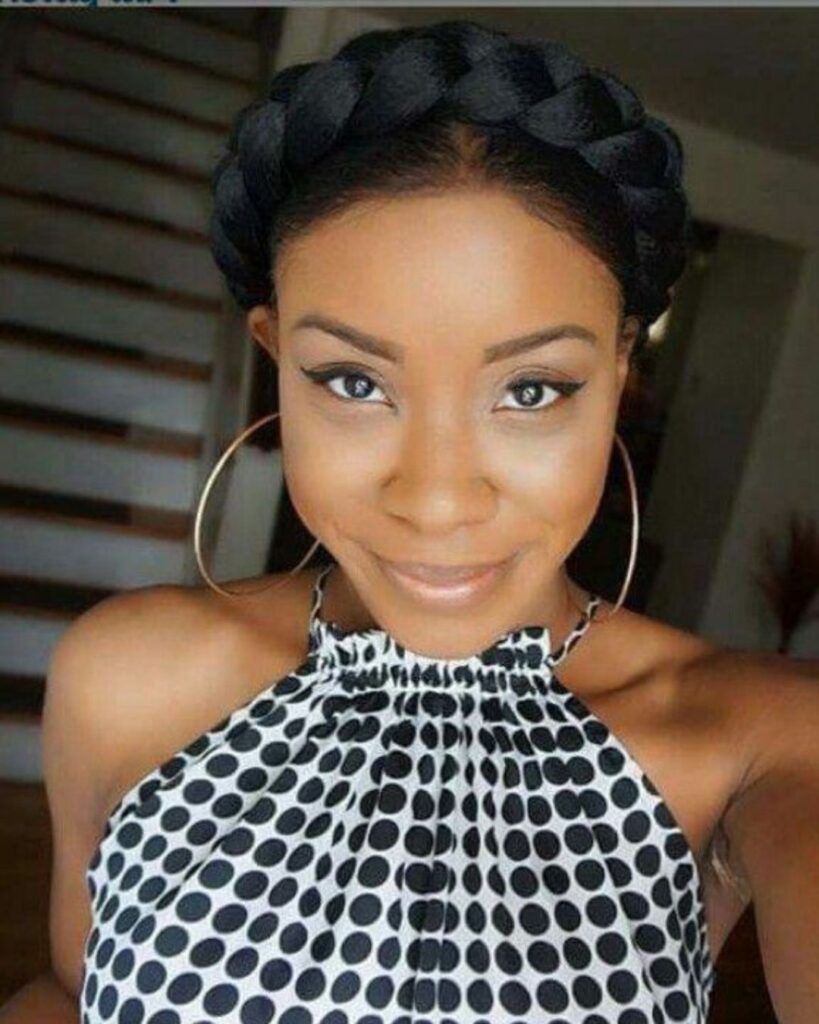
6. Butterfly Halo Braid
Last but certainly not least is the butterfly crown braid with curls. This is a beautiful style if you want a romantic look. It is often used as a wedding hairstyle or for special events.
How to do a halo braid with weave?
Now that you have seen the inspiration, let’s get into the how. Because my 4c is short, I usually do my halo braid with weave.
But if you have longer hair, you will not need hair extensions to accomplish this beautiful hairstyle.
1. Prep your natural hair
Before any protective style, you always want to make sure that your natural 4c hair is prepped for a long-term style.
If you just washed it, perfect. But if not, you want to mist it with some water and then moisturize your hair using the LOC method.
That way your hair remains hydrated while in a classic halo braid. After moisturizing, detangle it thoroughly using a wide tooth comb or detangling brush.
2. Tie up your natural hair
The next step is to tie up your natural hair as flat as possible into a low ponytail. Assuming that your hair is short, you want to use gel to slick your hair back as much as possible.
However, don’t worry if not all your hair reaches the back. The most important thing is that your 4c hair lies flat.
Depending on the look you are going for you don’t need to use much gel, just a little to brush down flyaways and style your edges.
Use a boar bristle brush towards the end to sleek it down one last time and then wrap your entire head with a silk scarf. That will set the hair in place.
3. Prep the weave (braiding hair)
Now that your own hair is prepped, you want to get started on the weave for the halo braid. Take the entire pack of braiding hair and start braiding it right under the rubber band in the middle of the pack.
Make sure to leave the hair tie out, as you will use it later to attach the braiding hair to your ponytail.
Braid the hair all the way to the end and then tie it up with a hair tie. You should now have a very long and thick braid. It doesn’t have to be a perfect braid, you can even loosen it up a bit.
4. Attach the braid to your hair
Now you want to take the braid where the rubber band is and attach it to your ponytail like a regular hair tie. Make sure to tie it a few times to prevent it from slipping later.
Once it’s attached properly you can now wrap the braid around your entire head. If needed, you can use bobby pins to secure it in the front of your head.
While the X-Pression braiding hair should have exactly the length needed to cover your entire head, you might have some extra after one loop around.
In that case, simply use bobby pins to tuck it extra close to the existing halo. No worries, some people even style their hair with double halo braids. So, it’s a vibe.
5. Style the look
Lastly, you can now use edge control to style your edges, if you haven’t yet.
You also want to take care of any flyaways and smooth down both, your natural hair and the braiding hair one more time.
And if you feel like it, you can even add hair accessories to give it that goddess braids look.
Voila! With a few simple steps, you now achieved a gorgeous halo braid.
